Welcome to Day 5 of learning HTML
Today, we will be learning about HTML media tag, multipage website and how to deploy html project . Let's get started!
Content of Day 5 session
- HTML Media Tag
- Multipage website
- How to deploy html project
1. HTML Media Tag
HTML media tags are used to embed multimedia content, such as images, audio, and video, into a web page. The most commonly used media tags in HTML are:
- <img>: Used to embed images.
- <audio>: Used to embed audio files.
- <video>: Used to embed video files.
Example of HTML Media Tags
Image Tag:
Audio Tag:
Video Tag:
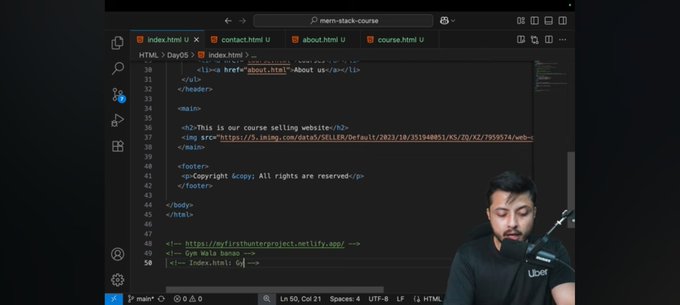
2. Multipage website
A multipage website is a website that consists of multiple web pages, each with its own unique URL. Multipage websites are typically used for larger websites that require more content and functionality than a single-page website can provide.
Example of Multipage website
To create a multipage website, you can create multiple HTML files, each representing a different page on the website. You can then link these pages together using anchor tags (<a>).
        <!DOCTYPE html>
        <html lang="en">
        <head>
            <meta charset="UTF-8">
            <meta name="viewport" content="width=device-width, initial-scale=1.0">
            <title>Home Page</title>
        </head>
        <body>
            <nav>
                <ul>
                    <li><a href="index.html">Home</a></li>
                    <li><a href="about.html">About</a></li>
                    <li><a href="contact.html">Contact</a></li>
                </ul>
            </nav>
            <h1>Welcome to My Website</h1>
            <p>This is the home page.</p>
        </body>
        </html>
In the above example, we have created a simple multipage website with three pages: index.html, about.html, and contact.html. Each page has its own unique URL and is linked together using anchor tags in the navigation menu.
3. How to deploy html project
Deploying an HTML project involves making your website accessible on the internet. Here are the general steps to deploy an HTML project:
Steps to deploy HTML project using netlify
- Create a GitHub repository for your HTML project and push your code to the repository.
- Sign up for a free account on Netlify (https://www.netlify.com/).
- Once you have signed up, click on the "New site from Git" button on the Netlify dashboard.
- Select your GitHub repository and choose the branch you want to deploy (usually main or master).
- Netlify will automatically detect that your project is an HTML project and will set the build command to "npm run build" and the publish directory to "dist". You can change these settings if needed.
- Click on the "Deploy site" button to start the deployment process.
- Once the deployment is complete, you will be given a unique URL for your website. You can use this URL to access your website from anywhere on the internet.
- You can also connect your own custom domain to your Netlify site if you have one.
That's it! Your HTML project is now deployed and accessible on the internet. You can make changes to your code and push them to your GitHub repository, and Netlify will automatically redeploy your site with the latest changes.
Note: There are many other ways to deploy an HTML project, such as using services like GitHub Pages, Vercel, or traditional web hosting providers. The steps may vary depending on the service you choose.
For more detailed instructions, you can refer to the official Netlify documentation: https://docs.netlify.com/