Welcome to Day 4 of learning HTML
Today, we will be learning about HTML Forms. Let's get started!
Content of Day 4 session
- HTML Forms
- Lable Tag
- Input types
- Textarea
- Button
1. HTML Forms
HTML forms are used to collect user input and send it to a server for processing. Forms can include various types of input fields, such as text boxes, radio buttons, checkboxes, and dropdown menus.
Example of HTML Form
Registration Form
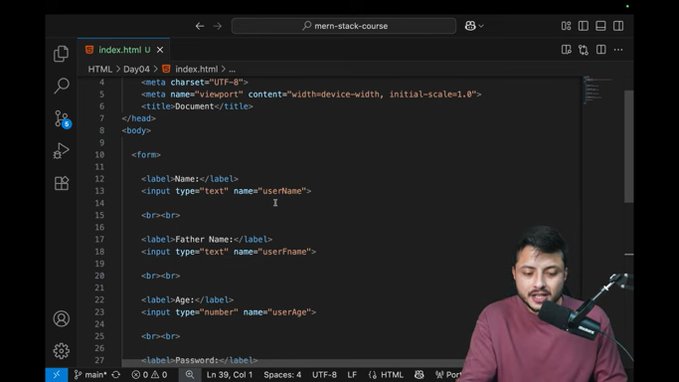
code of this form
        <form action="/submit" method="post">
            <label for="name">Name:</label>
            <input type="text" id="name" name="name" placeholder="shivam" required><br><br>
            <label for="email">Email:</label>
            <input type="email" id="email" name="email" placeholder="abc@gmail.com"><br><br>
            <label for="password">Password:</label>
            <input type="password" id="password" name="password" placeholder="Ankit@#123" required><br><br>
            <label for="bio">Bio:</label><br>
            <textarea id="bio" name="bio" rows="4" cols="50" placeholder="about yourself"></textarea><br><br>
            <button type="submit">Register</button>
        </form>
2. Lable Tag
The <label> tag is used to define a label for an <input> element. It provides a user-friendly way to identify the purpose of an input field. The <label> tag can be associated with an <input> element using the for attribute, which should match the id attribute of the corresponding input element.
Example of Lable Tag
        <label for="name">Name:</label>
        <input type="text" id="name" name="name" placeholder="shivam" required>
In the above example, the <label> tag is associated with the <input> element using the for attribute, which matches the id attribute of the input element. This allows users to click on the label to focus on the corresponding input field.
3. Input types
The <input> tag is used to create various types of input fields in an HTML form. The type attribute of the <input> tag specifies the type of input field to be created. Some common input types include:
- text: A single-line text input field.
- password: A password input field that masks the entered characters.
- email: An input field for email addresses that validates the entered format.
- radio: A set of mutually exclusive options where only one option can be selected.
- checkbox: A set of options where multiple options can be selected.
- submit: A button that submits the form data to the server.
- reset: A button that resets the form fields to their default values.
- file: An input field that allows users to select a file from their device.
- date: An input field that allows users to select a date from a calendar picker.
- number: An input field that allows users to enter numeric values only.
- tel: An input field for telephone numbers that validates the entered format.
- url: An input field for URLs that validates the entered format.
4. Textarea
The <textarea> tag is used to create a multi-line text input field in an HTML form. It allows users to enter longer pieces of text, such as comments or messages. The <textarea> tag can be customized using attributes such as rows and cols to specify the number of visible rows and columns.
code of Textarea
        <label for="bio">Bio:</label><br>
        <textarea id="bio" name="bio" rows="4" cols="50" placeholder="about yourself"></textarea>
In the above example, the <textarea> tag is used to create a multi-line text input field for users to enter their bio. The rows and cols attributes specify that the textarea should have 4 visible rows and 50 visible columns.
5. Button
The <button> tag is used to create clickable buttons in an HTML form. It can be used to submit the form data to the server or to perform other actions, such as resetting the form fields. The type attribute of the <button> tag specifies the type of button to be created, such as submit or reset.
code of Button
<button type="submit">Register</button>
In the above example, the <button> tag is used to create a submit button that submits the form data to the server when clicked.
resouces of this topic
Image and Video related to HTML Forms
Click here to watch the video